A Simple Car Cleaning Guide
“It looks like new! I can’t believe that car’s seven years old!” Would you like to hear that from your friends? I’m sure all of us do, but keeping our car looking like the latest models is tough, even with today’s longer-lasting finishes.
However, if we adopt simple techniques such as cleaning out cars regularly and attending minor repairs immediately, the results can be remarkable.

Some car owners think rainwater is the only enemy to their car, but bird droppings, highway bugs, atmospheric pollution and road salt can also ruin the beauty of your car.
Many owners think fighting these ever-diligent adversaries is a daunting task, so they don’t usually bother, but truthfully, it’s easier than they think.
Step 1: Washing

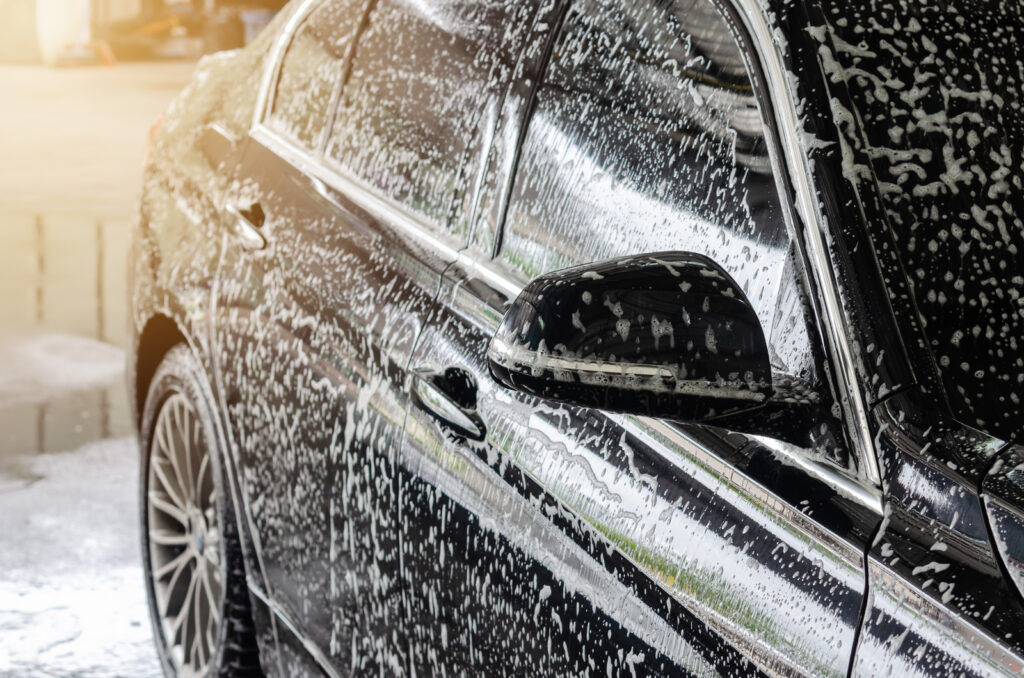
First, spray water gently to thoroughly wet the surface of the vehicle. This light rinse helps to loosen the dirt on the vehicle. Then divide your car into five sections: the top, the hood, the trunk, the right side and the left side. Start from the top, move on to the hood and the trunk, and then concentrate on the right side and the left side. Washing should always be done very gentle such that the dirt will not scratch the body of your car. Re-wet and then rinse each section, finishing in the same order- top, hood, trunk and sides.
Step 2: Polishing

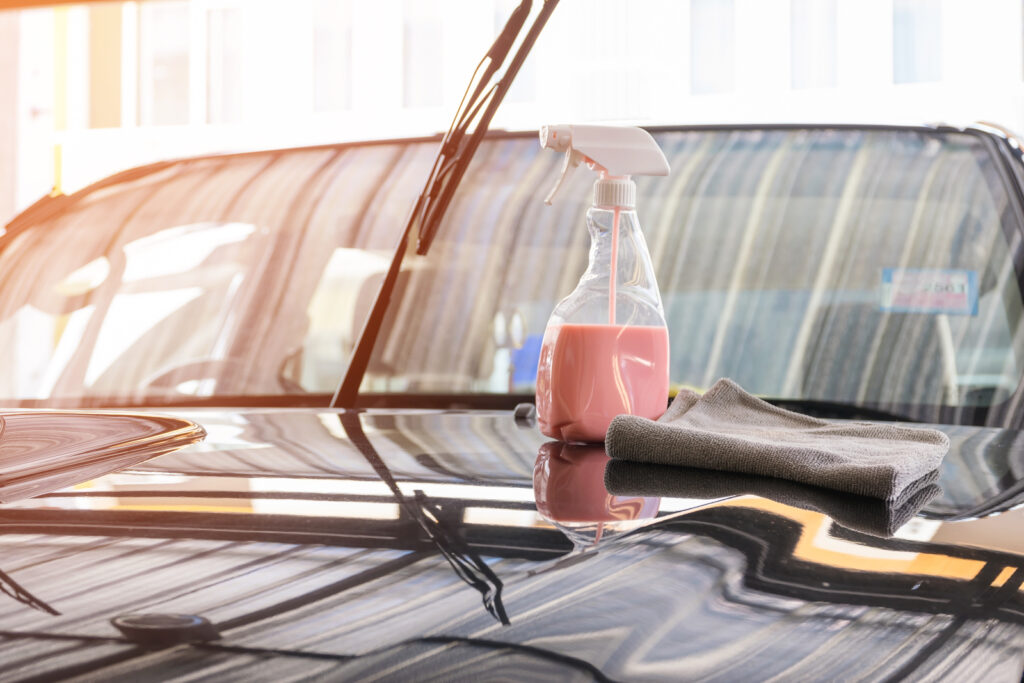
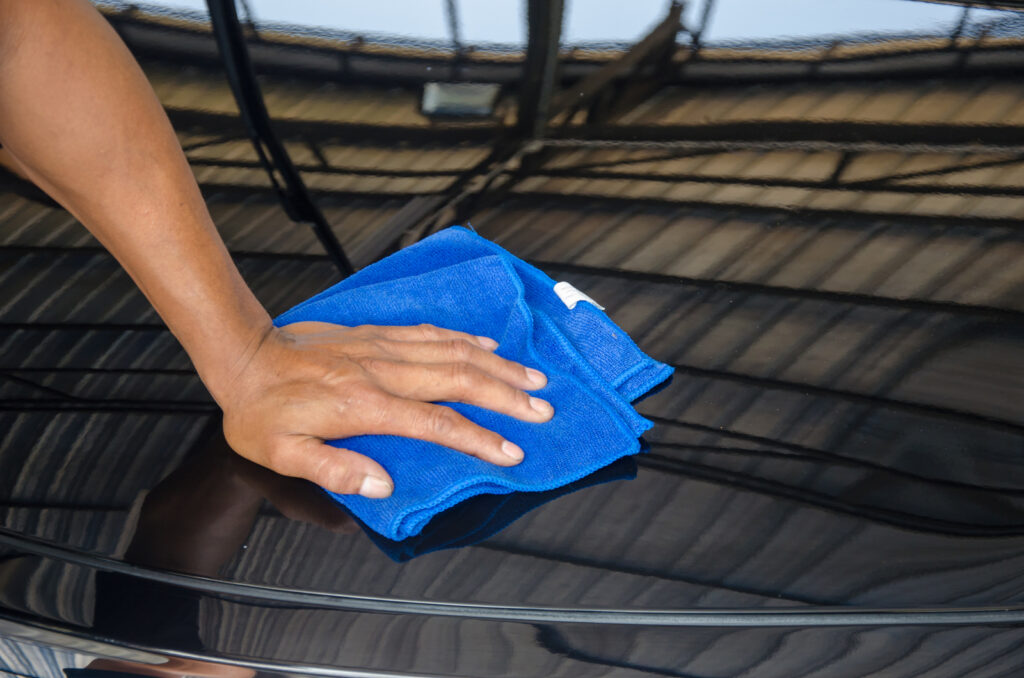
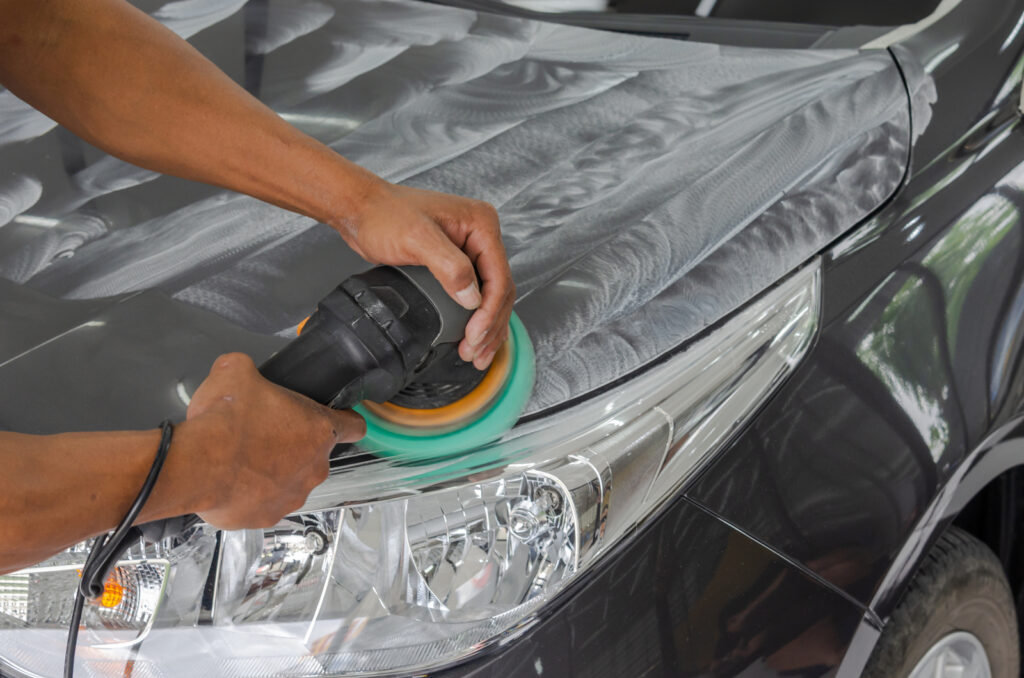
Polishing should only be done a small section at a time. Add an even coating of polish onto a towel, and then apply to the vehicle surface gently in small, even and circular motions. Start at the top and working your way down to the trunk and hood, finally ending with the sides. The polish should be allowed to sit on the paint surfaces for at least five to ten minutes. After this time, remove the residue with a different cotton towel by pressing firmly on the surfaces. The same procedure may be applied to all other four sections.
Step 3: Waxing

Use a soft and clean terry cloth towel to apply wax to a small section of the car. The application of wax to the car can be done similar to how polishing has been carried out. The only difference is you should wait until the wax has dried to a slight haze. If you’re really striving, repeat the whole process again, adding a second coat of wax to the vehicle.
And there you have it! You’ve removed the dirt and grime.

